

All Content must be HD: 1920 x 1080 (HDTV 1080i).
Check which version of Adobe Creative Cloud you are using, then download the preset, and import it into Media Encoder to use the correct DOM File Ingest Settings for your Export.
- For Adobe Creative Cloud 2018 NEW .MP4 UPDATE - PLEASE DOWNLOAD THIS 2018 Creative Cloud Export Preset.
-
For Adobe Creative Cloud 2017 NEW .MP4 UPDATE - PLEASE DOWNLOAD THIS 2017 Creative Cloud Export Preset.
Quick Facts for Exporting:
-
H.264 - MP4
-
29.97 Frame Rate
-
48k Audio ACC
-
1920x1080 - HD
-
Limit to 8-10 Mbit/s Data Rate
-
NAMING YOUR FILE - VERY IMPORTANT: DO NOT use numbers at the beginning of your filename and DO NOT use any spaces or symbols (except for dot and underscore).
HELPFUL TIP: Using Adobe Media Encoder Queue is found to have a more detailed export process and shows you more information regarding the status of your video. It also allows you to go back to Premiere and continue to work on another project while Media Encoder exports your file.
This tutorial assumes you have an Adobe Premiere Pro project, you can also skip down and start by importing a project or file directly into Media Encoder.
-
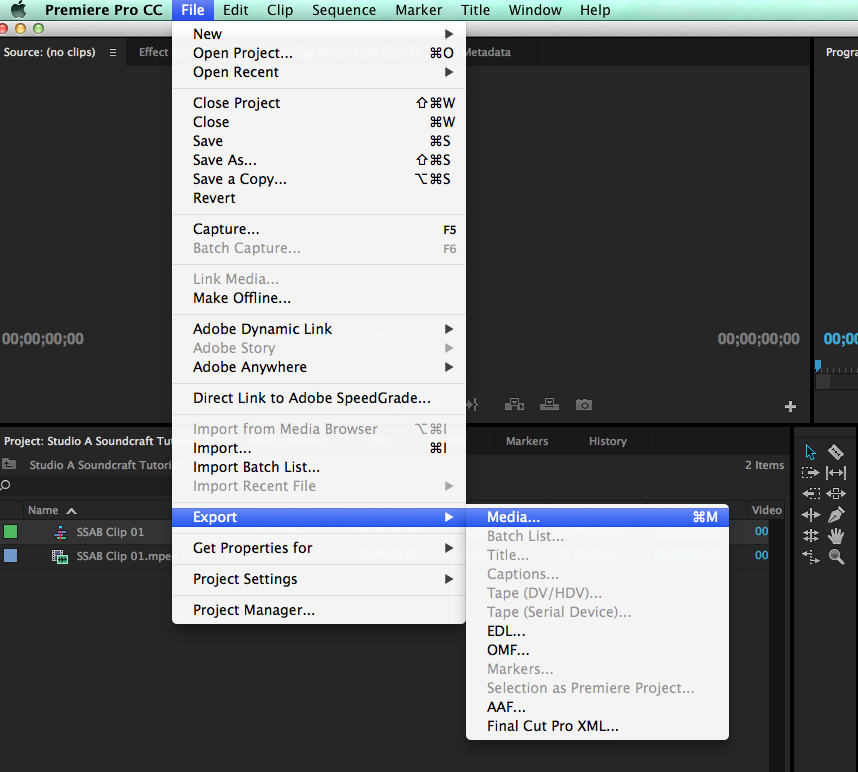
When you are ready to export, select the Sequence panel so that it has a blue outline
-
Select File > Export > Media (⌘M)
-
Click Queue to export using Media Encoder.
-
It will now send it to the Export Queue in Media Encoder.
-
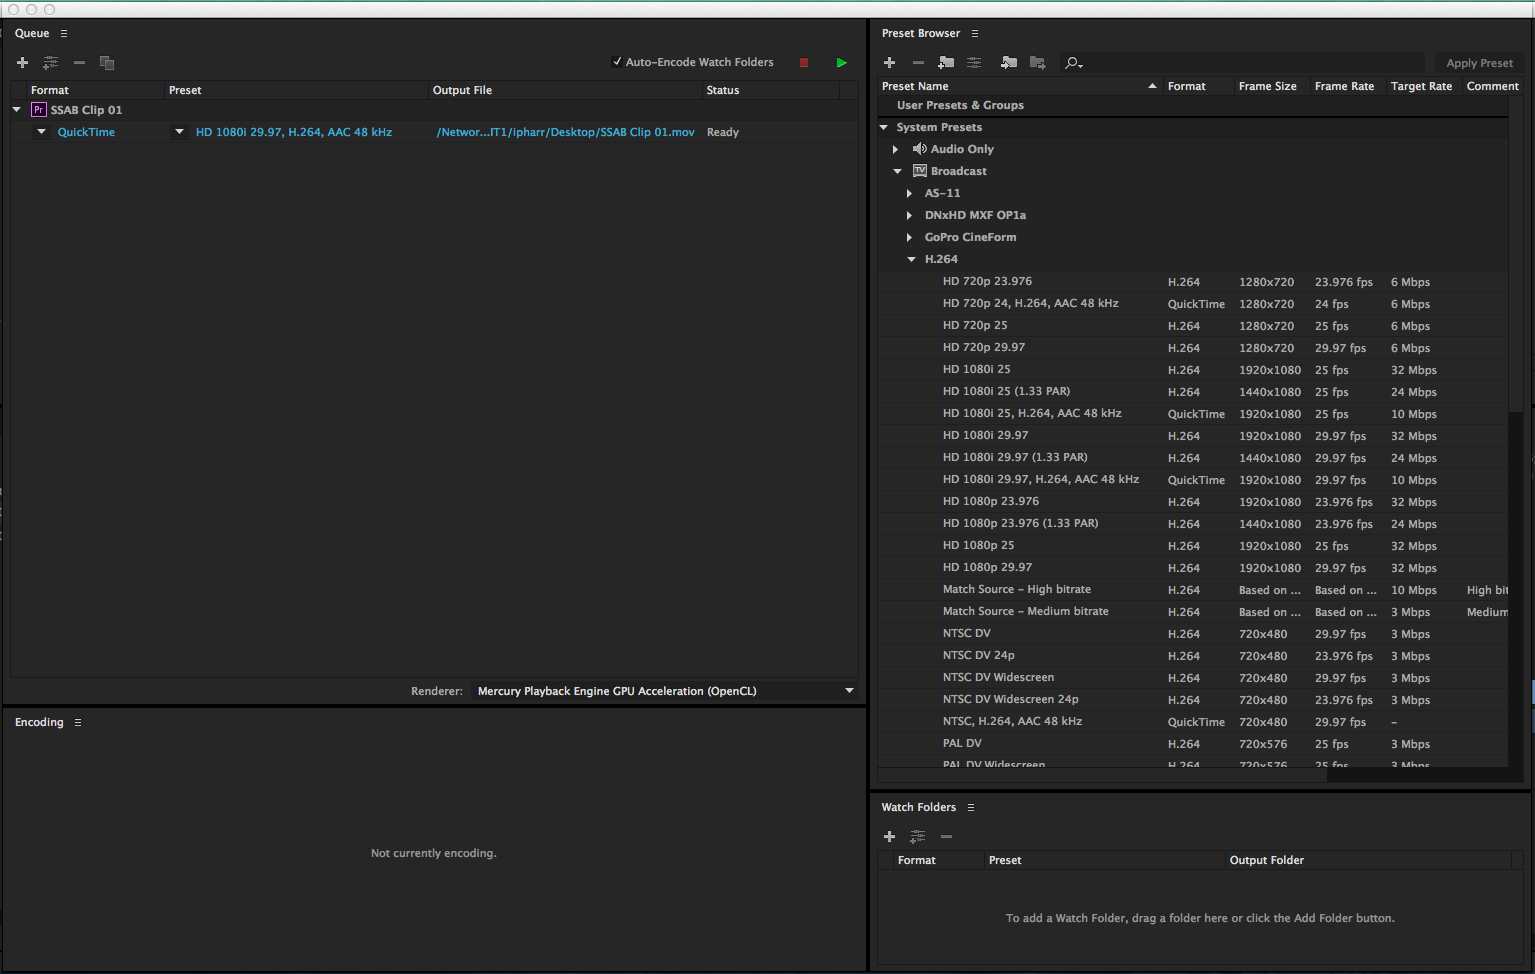
Import the DOM Preset Encoder file you downloaded.
-
Click on PRESET on the Top Menu Bar, then click IMPORT
-
You should see DOM Preset 2017 V3 HD, in the Preset Browser Window under User Presets & Groups
-
Simply dragging the preset on the right and dropping it over your file on the left (in the Queue) will prepare your video completely for export.
-
Click on the Output File to change the name and location of the file. Do not start your filename with a number or use spaces or special characters in your file name.

-
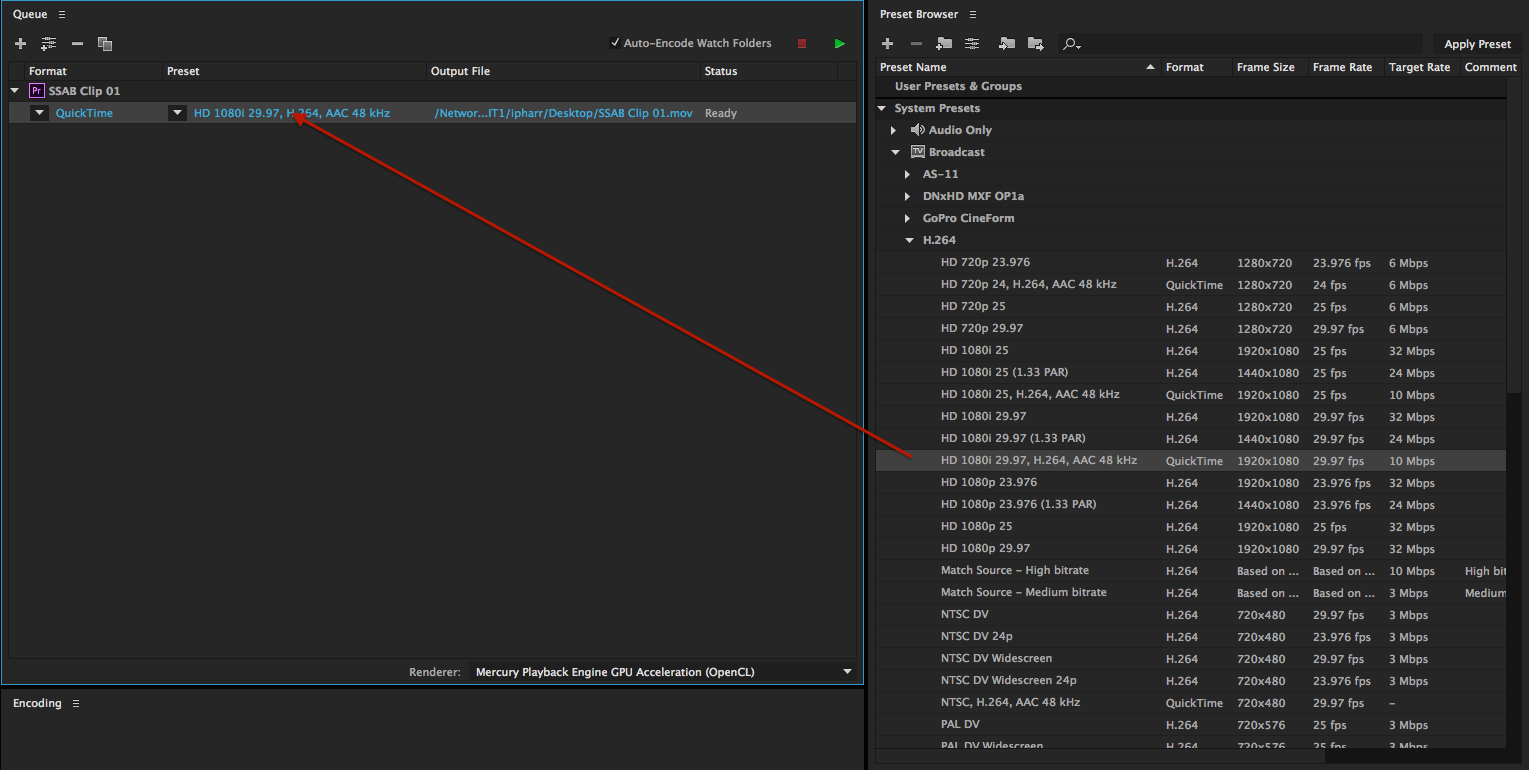
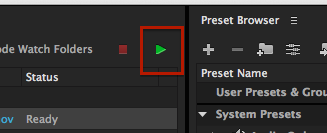
When you are ready to export, hit the green play button on top of the Queue and you will see the progress bar begin.
-
In the lower left, you will see the Encoding panel become active.

-
After Media Encoder is finished, your file will be ready to use (and ingest) from the save location that you designated.
INGESTING

-
Once your Video is fully Exported to the Ingest Drive - Take a break.
-
The system will take 10-15 minutes to check your video. If your video has been exported with the correct settings, it will show up in the Dropdown list in Submit a Show page on the Denver Open Media website.
-
-
Troubleshooting Problems
-
If your video doesn’t disappear from Ingest
-
Let staff know immediately.
-
If your video never appears in the Dropdown list, it likely has the wrong settings, or your video may not have a unique file name or is not the right file extension. Most typically, the frame rate or frame size is incompatible with our system. Check your settings and try again - we are happy to help!
-
-
3) Submitting Your Video/Show
-
Login to your DOM website Dashboard.
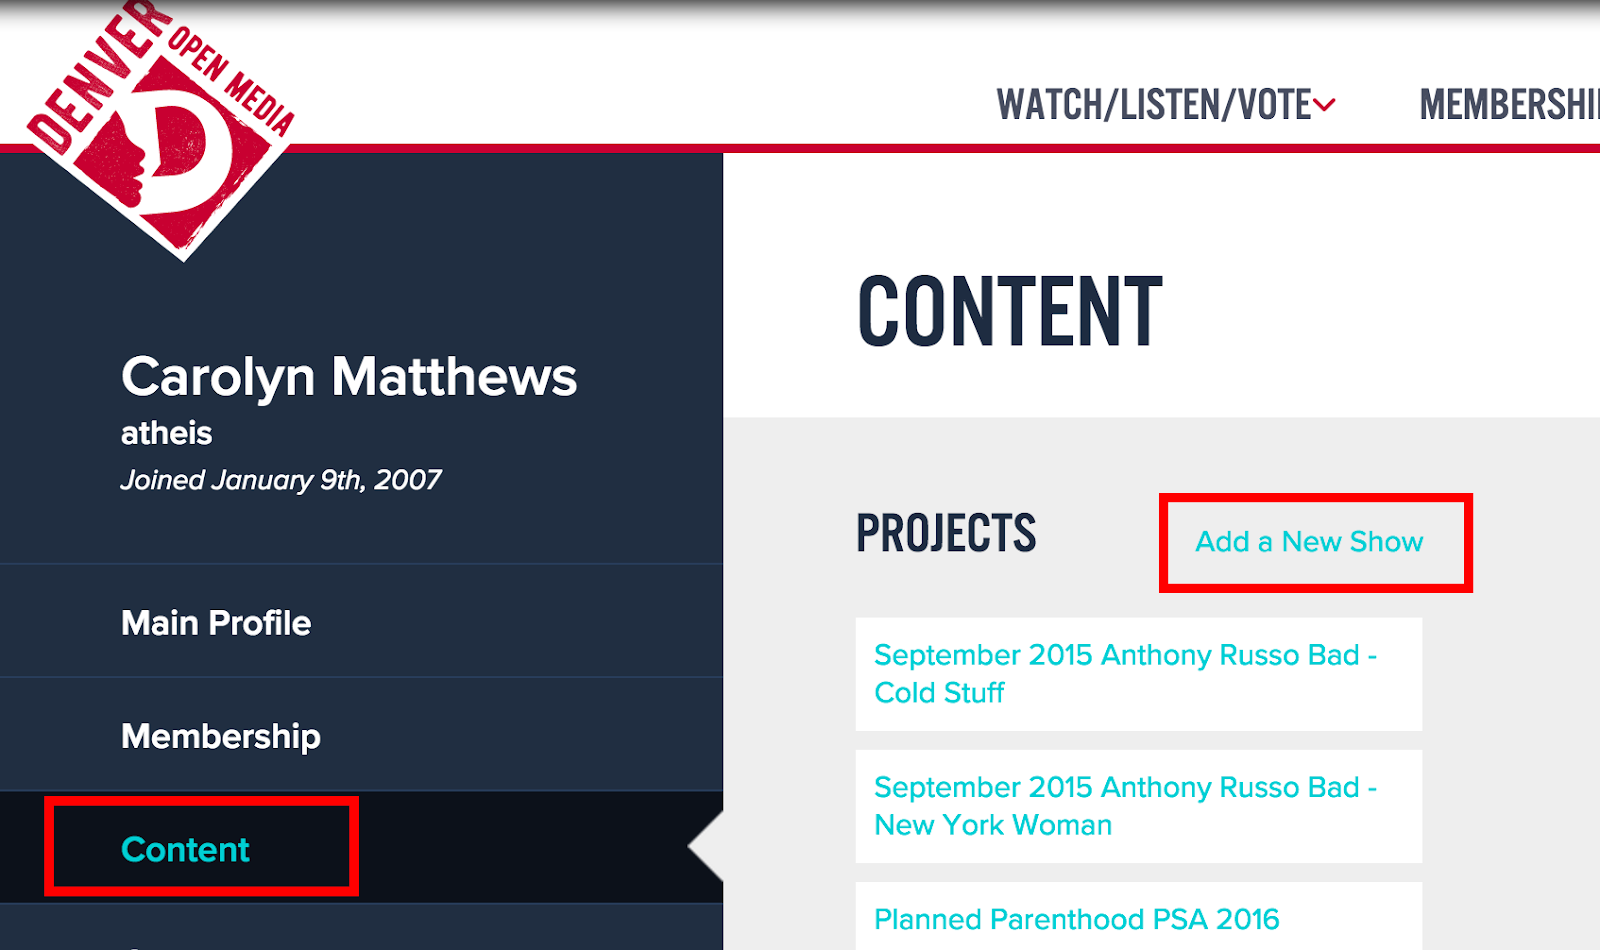
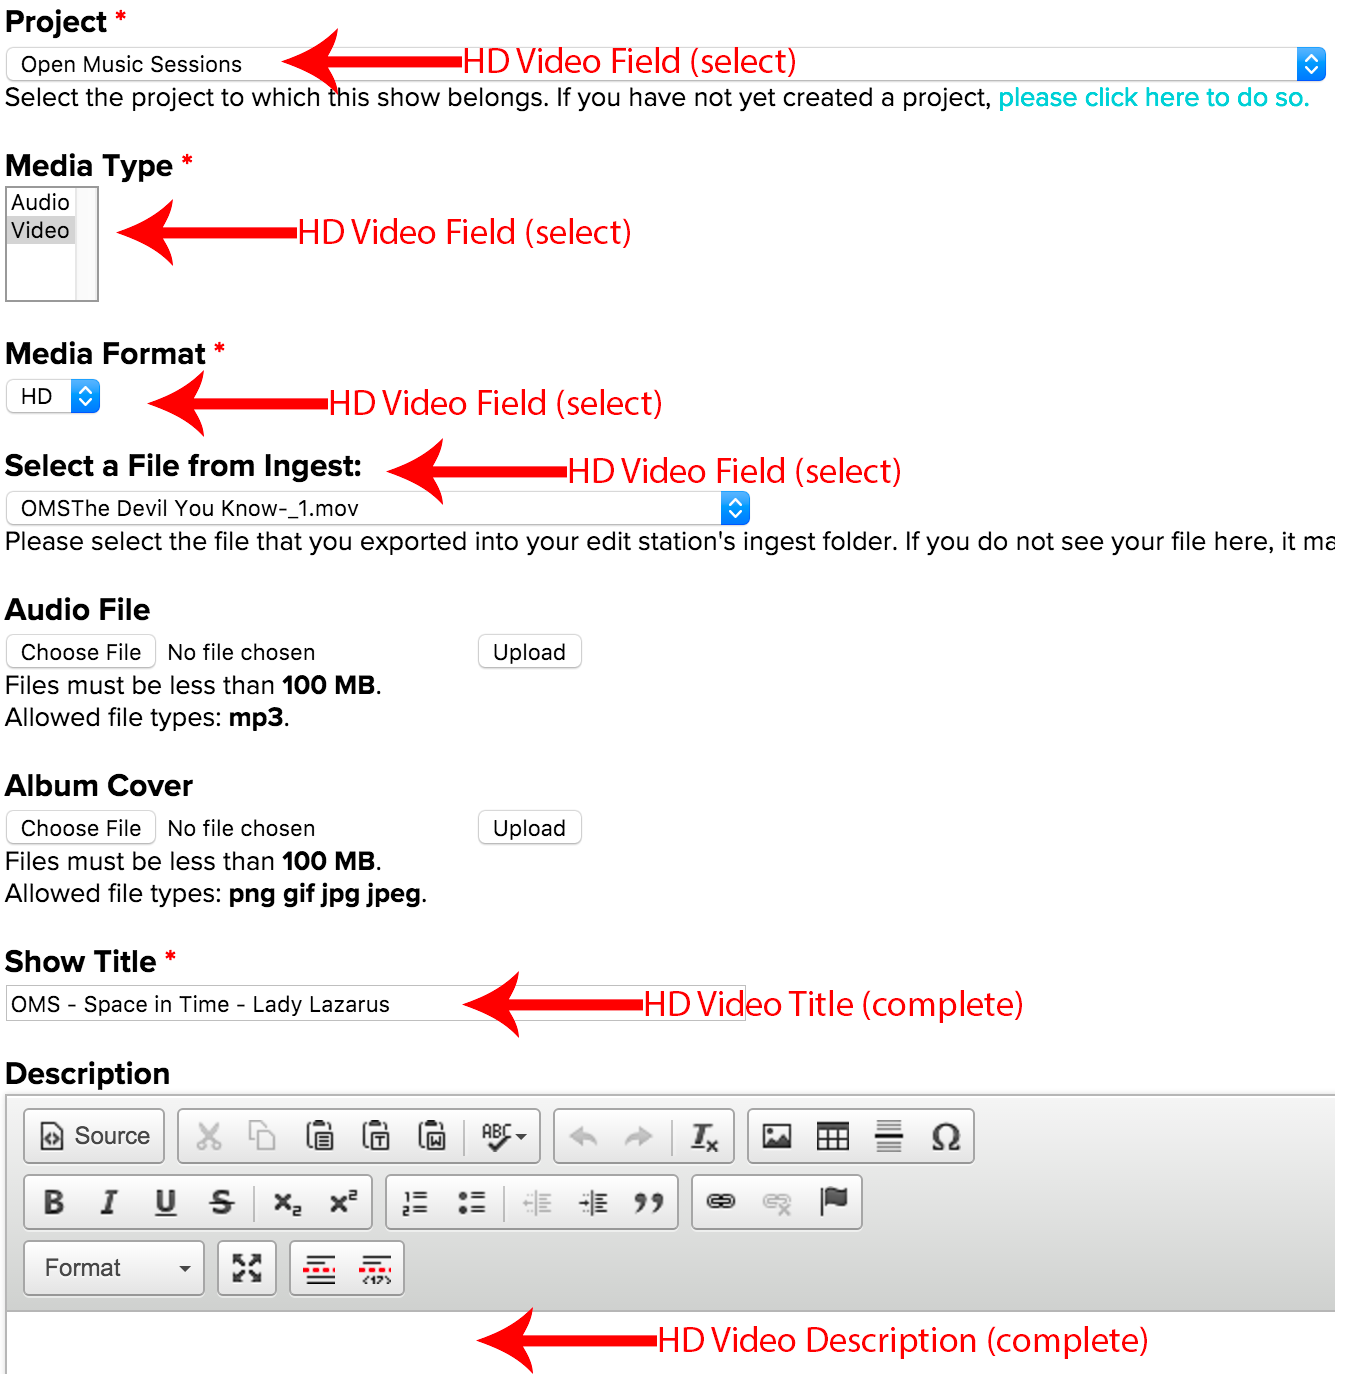
Click "Submit New Show" on the left side of the page and fill out the form. Please note the following:
-
Fill out all of the required fields. * Red asterisks are next to all required fields.
-
Write a description of the show and maybe some exciting tidbits (this helps with search engine indexing).
-
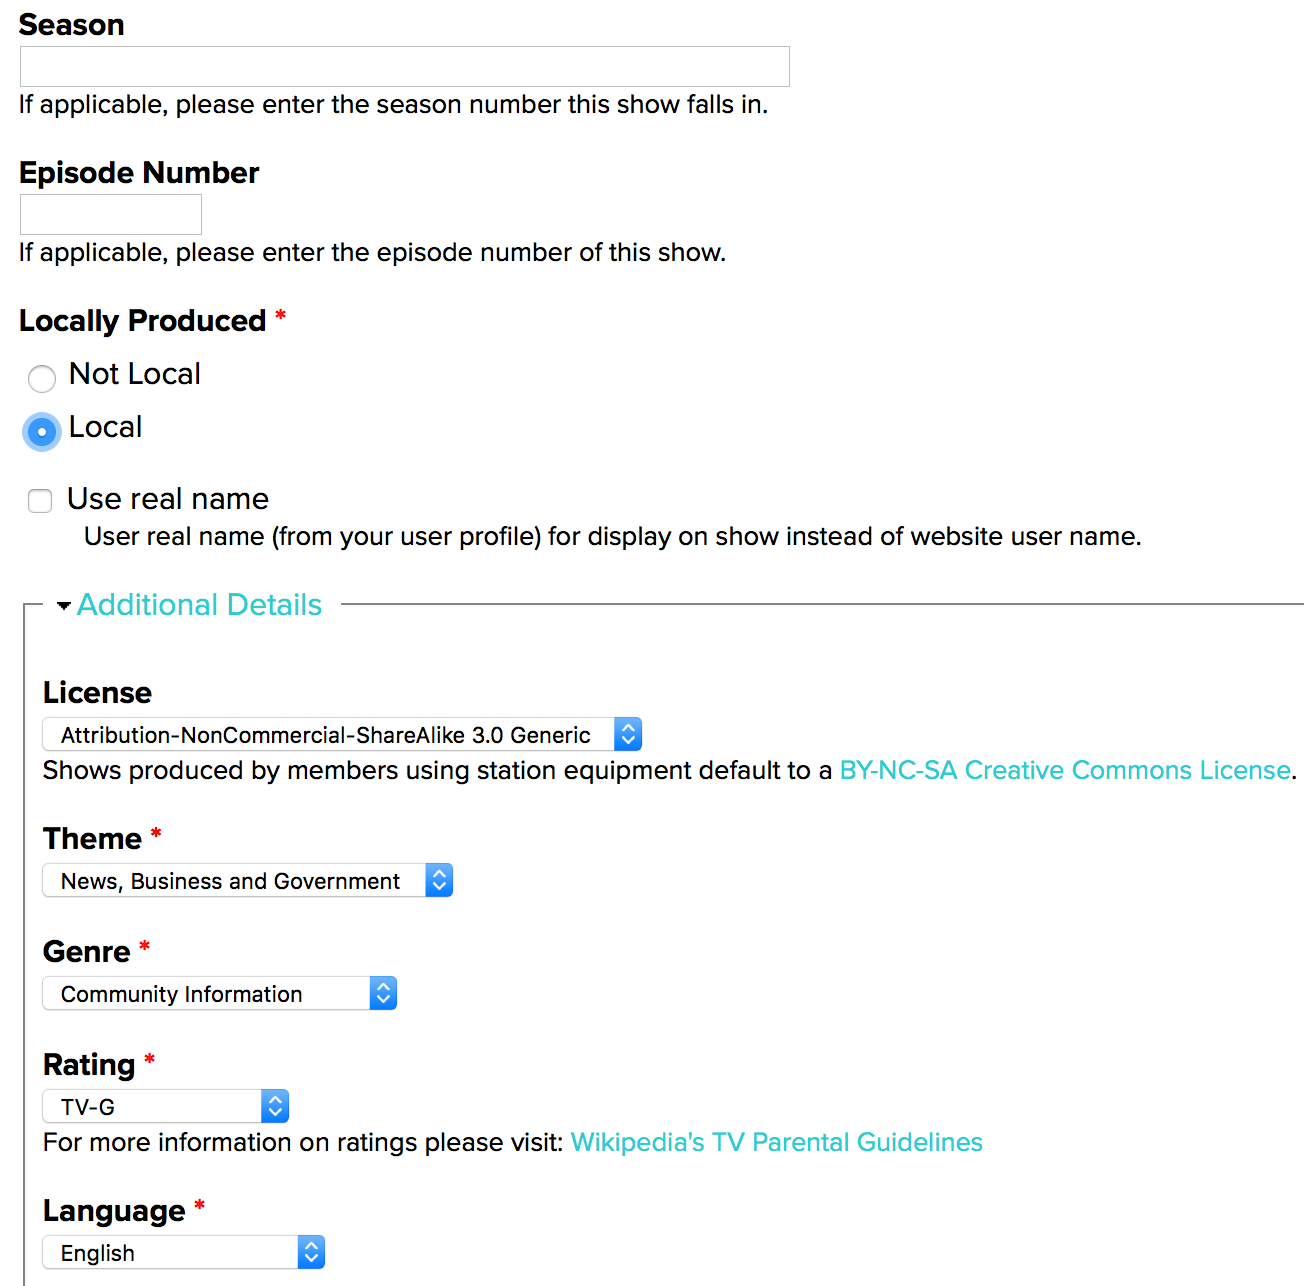
Complete the Metadata fields: License, Themeblock, Genre, Rating, and Language.
-
Make sure you choose the correct rating! (TV-MA will only air from 10pm-6am)
-
Add a thumbnail of either a screenshot from your episode or your show’s logo. This isn’t required, but it will look more appealing to viewers on the website.
-
Your on-demand video will typically be available to play on the website within 24 hours or less.
Save and Agree to Terms
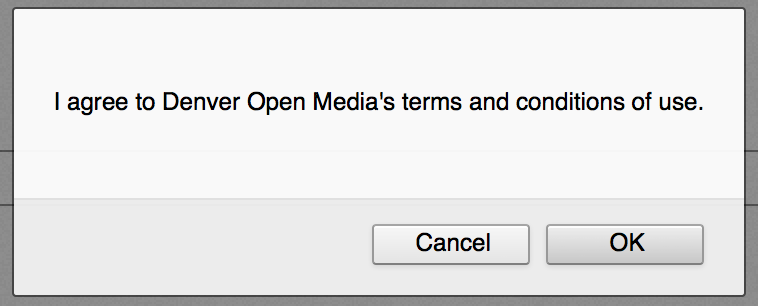
Read more info about DOM’s Content Policies.
Success
Congratulations! You have now completed uploading your video! Don’t forget to Schedule, Share, and get Votes for your show so your show airs more often and get promoted to the HD Channel!
Don't forget, if you have any trouble submitting, please contact your friendly interns or staff at the DOM Help Desk. If you experience any technical problems with the system, file a trouble report.
